Managing Folders
Folders in Zenspire allow you to structure your image library hierarchically. These folders are created and managed within your designated Zenspire library location. Actions you take on folders within the app directly affect the folder structure on your disk at this location. For more details on the library concept, see the Getting Started with Your Library page.
Viewing Folder Contents
Section titled “Viewing Folder Contents”Click a folder name in the sidebar’s “Folders” section to view its images in the Image Grid. How images from subfolders are displayed depends on the Show Items in Subfolders setting.
Displays only the images located directly inside the selected folder. Contents of subfolders are not shown unless you navigate into them individually.
This view displays all images within the selected folder and all images inside any of its subfolders, combined into a single grid.
You can easily toggle this view on and off:
- From the Toolbar: Click the Show Items in Subfolders icon in the main window’s toolbar.
- With a Keyboard Shortcut: Press
⇧⌘H.
The setting is also available in the Settings window.
Creating Folders
Section titled “Creating Folders”You can create new folders from several places in Zenspire. These actions create actual folders on your disk within your library location.
There are three primary ways to create folders:
- From the Menu Bar: Go to the
Filemenu for powerful, context-aware creation.File > New Folder(⇧⌘N) creates a new folder. If you have a folder selected, it will create a subfolder inside it. Otherwise, it creates a new top-level folder.File > New Top-Level Folder(⌃⌘N) always creates a new folder at the top level of your library, regardless of your current selection.
- From the Sidebar Toolbar: Click the
[+] Newbutton at the bottom of the sidebar and selectFolderto create a new top-level folder. - From the Context Menu: Right-click an existing folder and select
New Subfolderto create a folder inside it.
Renaming Folders
Section titled “Renaming Folders”- Right-click the folder in the sidebar to open its context menu.
- Select
Rename. - The folder name becomes an editable text field. Type the new name and press Enter. This renames the actual folder on disk within your Zenspire library.
Moving Folders
Section titled “Moving Folders”You can easily change your folder hierarchy by moving folders. This action moves the actual folder on your disk to its new location.
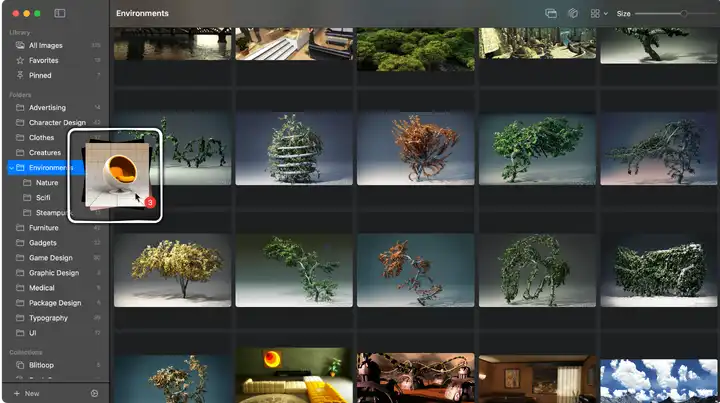
- In the sidebar, click and hold the folder you want to move.
- Drag it on top of another folder to make it a subfolder.
- Alternatively, drag it over the “Folders” section header to move it to the top level.
Deleting Folders
Section titled “Deleting Folders”- Right-click the folder in the sidebar to open its context menu.
- Select
Delete. - Confirm the deletion if prompted.
Moving Images Between Folders
Section titled “Moving Images Between Folders”You can move images from one folder to another within your library. This action physically moves the image files on your disk from the source folder to the destination folder.
- Select one or more images in the Image Grid.
- Drag the selected image(s) over to the “Folders” section in the sidebar.
- Drop the images directly onto the name of the destination folder.
Folder Context Menu Summary
Section titled “Folder Context Menu Summary”Right-clicking a folder in the sidebar provides these options for managing folders within your Zenspire library:
RenameNew SubfolderShow in FinderDelete
Importing Images into Folders
Section titled “Importing Images into Folders”You can add images to folders in your library using several methods. The image files will be copied into the target folder within your Zenspire library location on disk, and will then appear in the app.
Method 1: Drag and Drop
Section titled “Method 1: Drag and Drop”Drag image files from Finder, a web browser, or other applications and drop them into Zenspire. You have two primary drop targets:
Select a target folder in the sidebar first, then drop the images anywhere onto the Image Grid area. The images will be imported into the currently selected folder.
Drag the images and drop them directly onto a folder’s name in the sidebar. The images will be imported into that specific folder, regardless of what you are currently viewing.
Method 2: Paste from Clipboard
Section titled “Method 2: Paste from Clipboard”You can also paste images directly into a folder.
- Select the target folder in the Zenspire sidebar.
- Copy an image to your clipboard. This can be:
- An image file you copied from Finder (
Edit > Copyor⌘C). - Image data from another app, like a screenshot (
⌃⇧⌘4) or an image copied from a web browser.
- An image file you copied from Finder (
- In Zenspire, use the menu
Edit > Pasteor the shortcut⌘V.
For a complete list of supported image formats, please see the Getting Started Guide.