Working with the Image Grid
The Image Grid is the central area where you view and interact with the images from your selected source (Folder, Collection, Library, etc.).
Selecting Images
Section titled “Selecting Images”Zenspire supports standard macOS selection methods:
- Single Selection: Click once on an image thumbnail. Any previously selected image(s) will be deselected.
- Multiple Selection (Command): Hold down the Command (⌘) key while clicking on image thumbnails. This will add unselected images to the selection or remove already selected images from the selection, without affecting other selected items.
- Range Selection (Shift): Select an image, then hold down the Shift (⇧) key and click another image. All images between the first and second image in the grid will be selected.

Previewing with Quick Look
Section titled “Previewing with Quick Look”Quick Look allows you to see a full-size preview of an image without leaving the grid.
-
To open Quick Look:
- Select an image and press the Spacebar.
- Or, double-click any image thumbnail.
-
Navigating in Quick Look:
- When the Quick Look window is open, you can use the arrow keys on your keyboard to cycle through other images in the grid.
- If you have multiple images selected, Quick Look will only cycle through the selected items.
Keyboard Navigation
Section titled “Keyboard Navigation”You can navigate the image grid and modify your selection using only the keyboard.
For a full list of keyboard commands, see the Keyboard Shortcuts page.
Quick Actions on Thumbnails
Section titled “Quick Actions on Thumbnails”Perform common actions directly on thumbnails without needing menus:
- Hover your mouse cursor over any image thumbnail in the grid.
- Two icons appear in the corners:

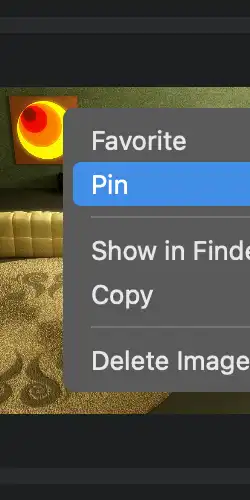
Context Menu Actions
Section titled “Context Menu Actions”Right-click (or Control-click) on any image thumbnail to open a context-aware menu. The options shown depend on the source you are currently viewing. When it’s logical, these actions will apply to all selected images, not just the one you clicked on.
-
Favorite / Unfavorite
- Toggles the Favorite status of the selected image(s).
- The menu will show
Unfavoriteif all selected images are already favorited.
-
Pin / Unpin
- Toggles the Pinned status of the selected image(s).
- The menu will show
Unpinif all selected images are already pinned.
-
Copy
- Copies the selected image file(s) to the system clipboard, ready to be pasted into another folder or application.
-
Show in Finder
- Opens a Finder window with the selected image file(s) highlighted.
-
Remove from Collection
- When viewing a Collection, this removes the selected image(s) from that collection. The image files themselves are not affected.
-
Delete Image
- Deletes the selected image file(s) and moves them to the system Trash, allowing them to be recovered.
Dragging Images
Section titled “Dragging Images”You can drag images from the grid to other places, or drag images to certain sidebar items.
Dragging Images Out of Zenspire
Section titled “Dragging Images Out of Zenspire”Use your images in other applications:
- Select one or more images in the Zenspire grid.
- Click and hold on any of the selected images.
- Drag the selection out of the Zenspire window. You’ll see a preview of the dragged images (they appear stacked if dragging multiple).
- Drop the selection into another application (like Finder, Keynote, Photoshop, etc.) that accepts image file drops.
This typically copies the image file(s) or inserts them into the target application.
Dragging Images to a Collection
Section titled “Dragging Images to a Collection”Add images to your collections quickly:
- Select one or more images in the Image Grid.
- Drag the selection over to the sidebar.
- Drop the selection directly onto the name of the target Collection.
See the Collections page for more details.
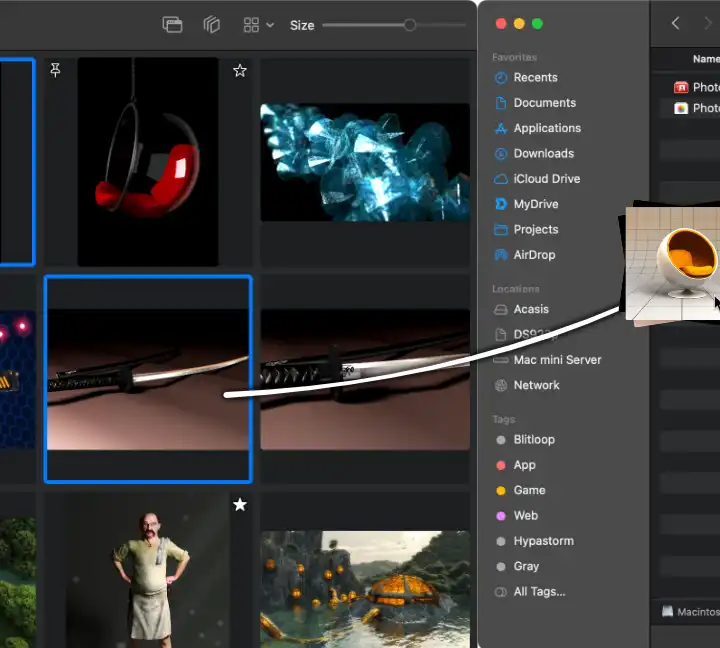
Dragging Images to a Folder
Section titled “Dragging Images to a Folder”Move images between folders in your library:
- Select one or more images in the Image Grid.
- Drag the selection over to the sidebar.
- Drop the selection directly onto the name of the target Folder.